Manage Member Documents
Use the Documents & Compliance area to confirm required forms are signed before a member trains or attends class.
1. Upload Or Create The Document
Go to Manage Gym → Documents and add the waiver, agreement, or form your members need to sign.
Set whether the document is required. Required documents can prevent booking until the member has completed them.
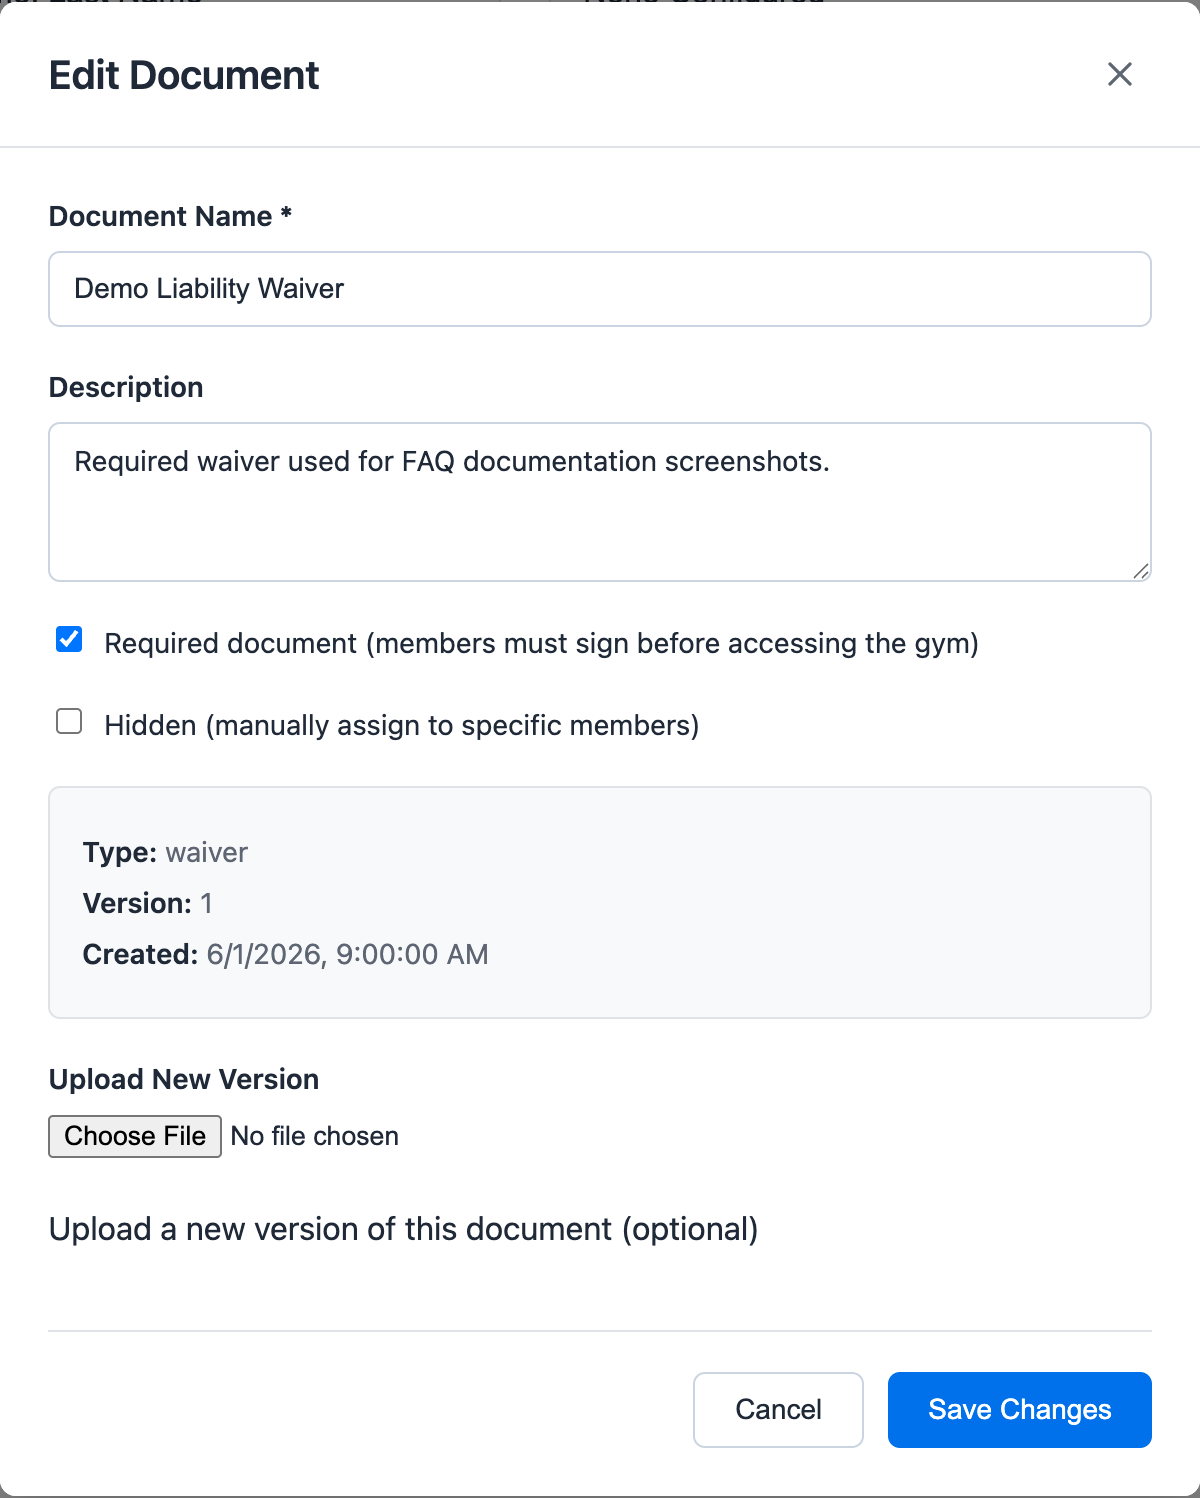
Use Edit when staff need to change the description, mark the document required, hide it for manual assignment, or upload a new version.
2. Open the Member Profile
Go to Users, open the member, and stay on the Profile tab.
Scroll to Documents & Compliance.
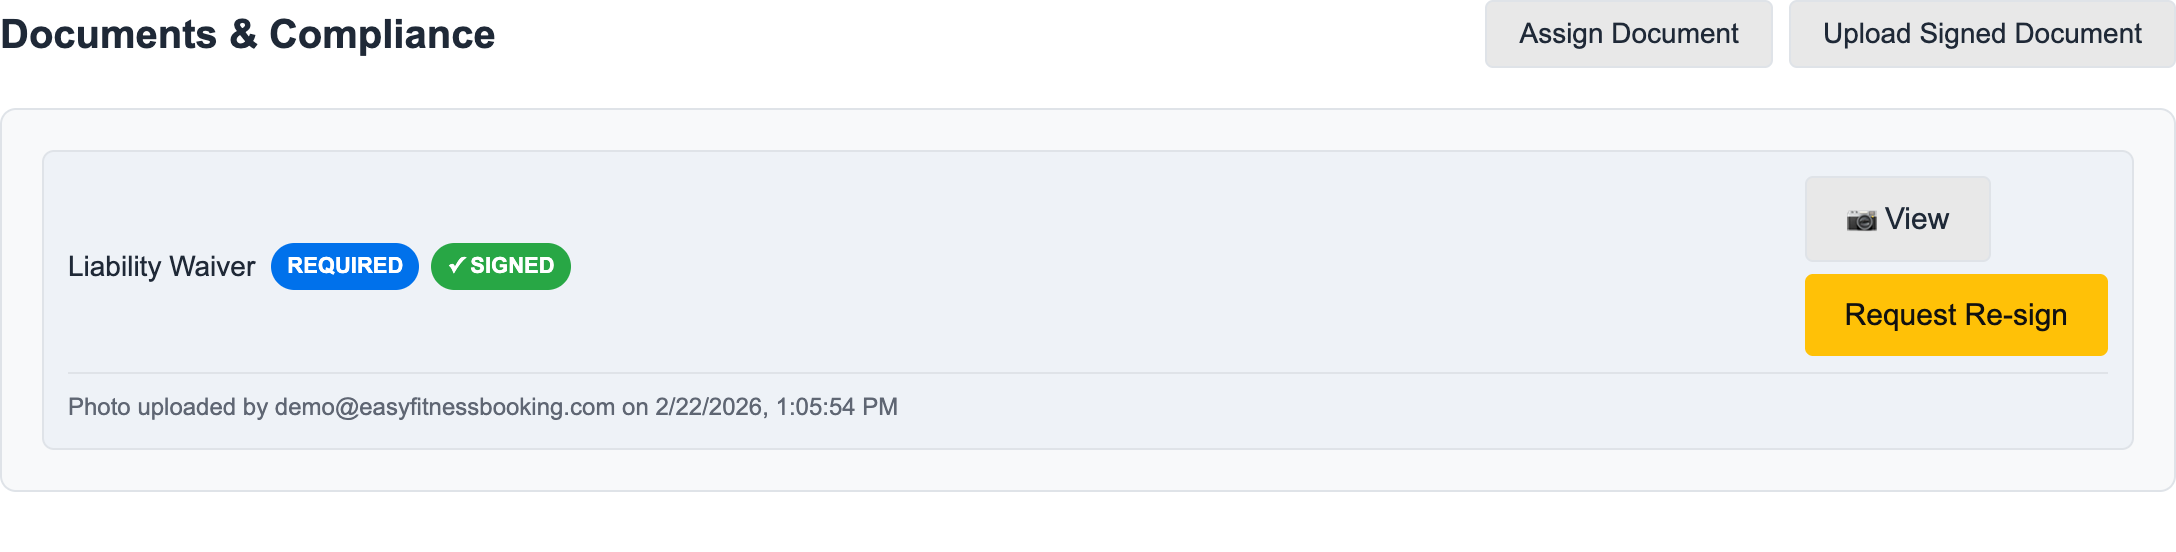
3. Check Document Status
Look for:
- Required documents
- Signed status
- Uploaded document timestamp
- Re-sign action
4. Assign a Document
Click Assign Document when the member needs a form they do not already have.
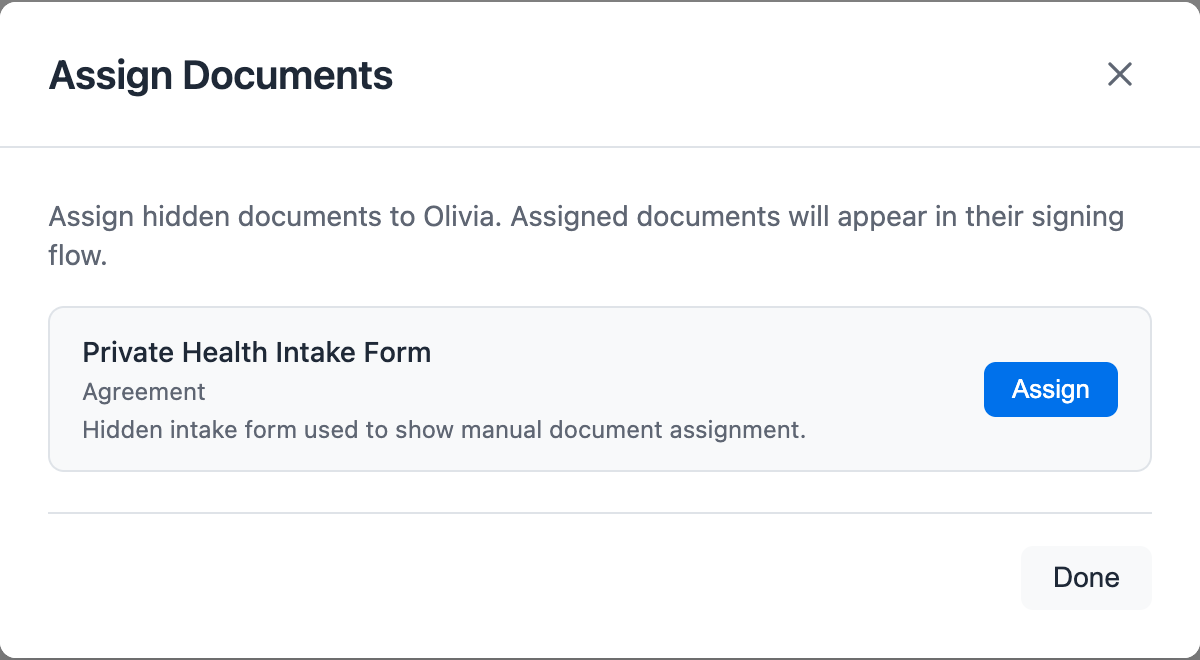
Hidden documents are useful when a form should only appear for selected members, such as a private health intake form, medical clearance, or specialty-program agreement.
5. Upload a Signed Document
Use Upload Signed Document when staff have a signed copy from outside the member portal.
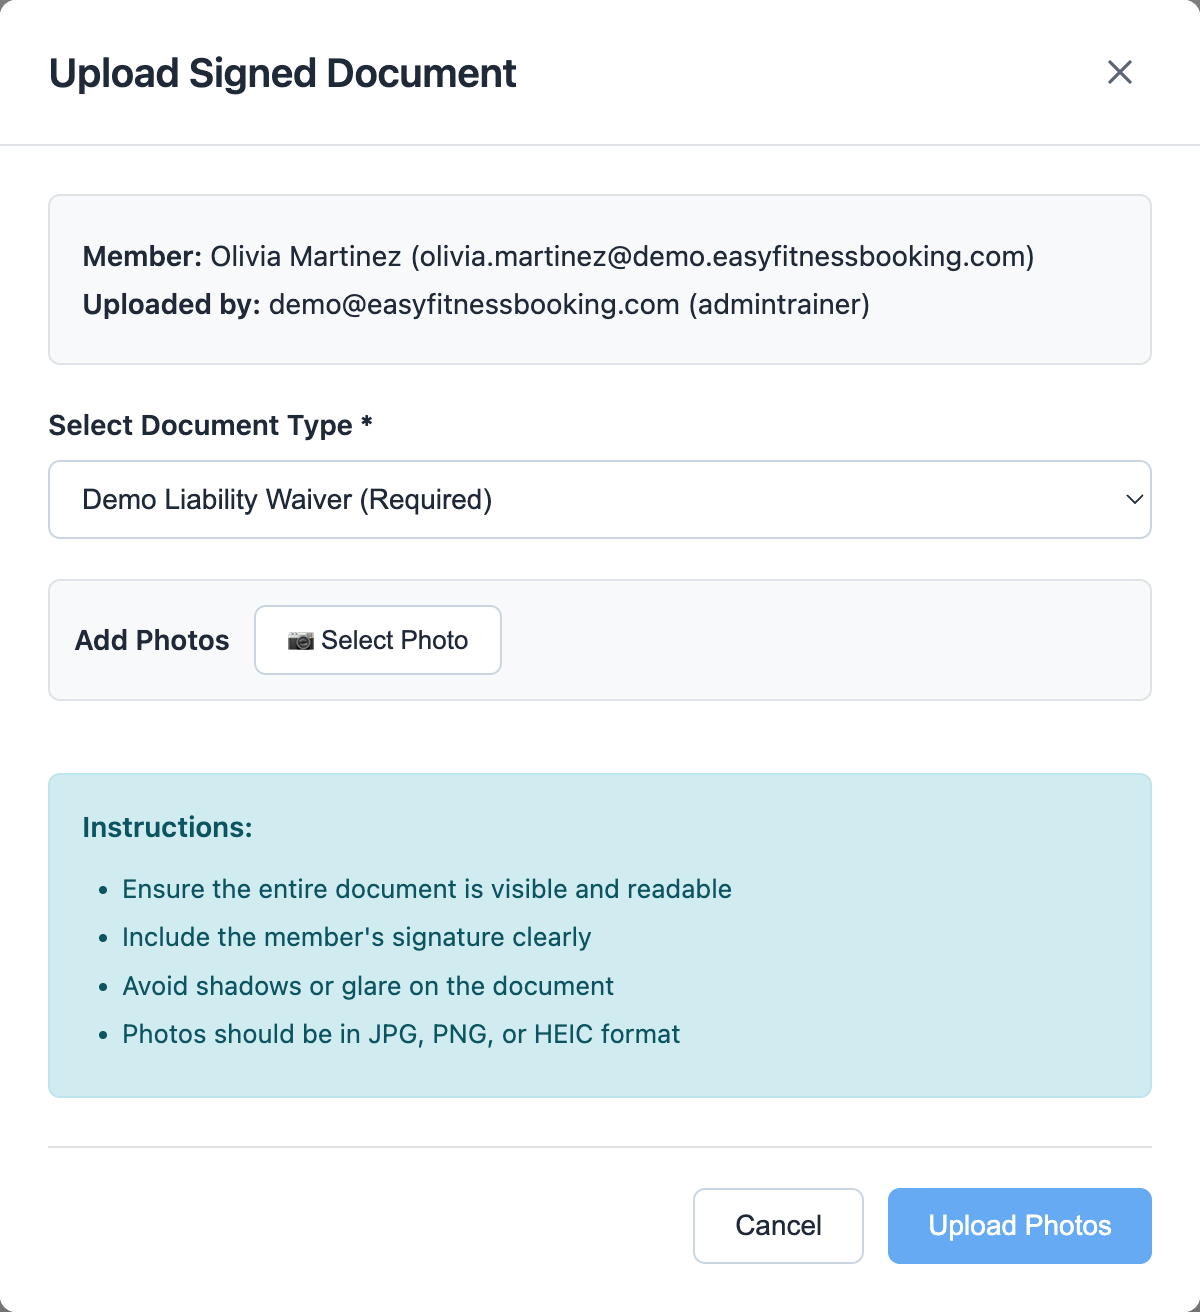
Select the document type, add one or more photos of the signed document, then upload. This marks the document completed for that member while preserving who uploaded it.
6. Request Re-Sign
Click Request Re-sign when the form needs a fresh signature.
This is useful after policy updates, expired waivers, or document corrections.
For the full document feature overview, see Document Management.
Ready to streamline your gym?
Start managing bookings, personal training, and memberships in minutes.
Start Your Free Trial →No credit card required