Set Up Gym Profile and Logo
Use this workflow before inviting members. These settings make invoices, signup pages, and staff screens feel like your gym instead of a blank demo account.
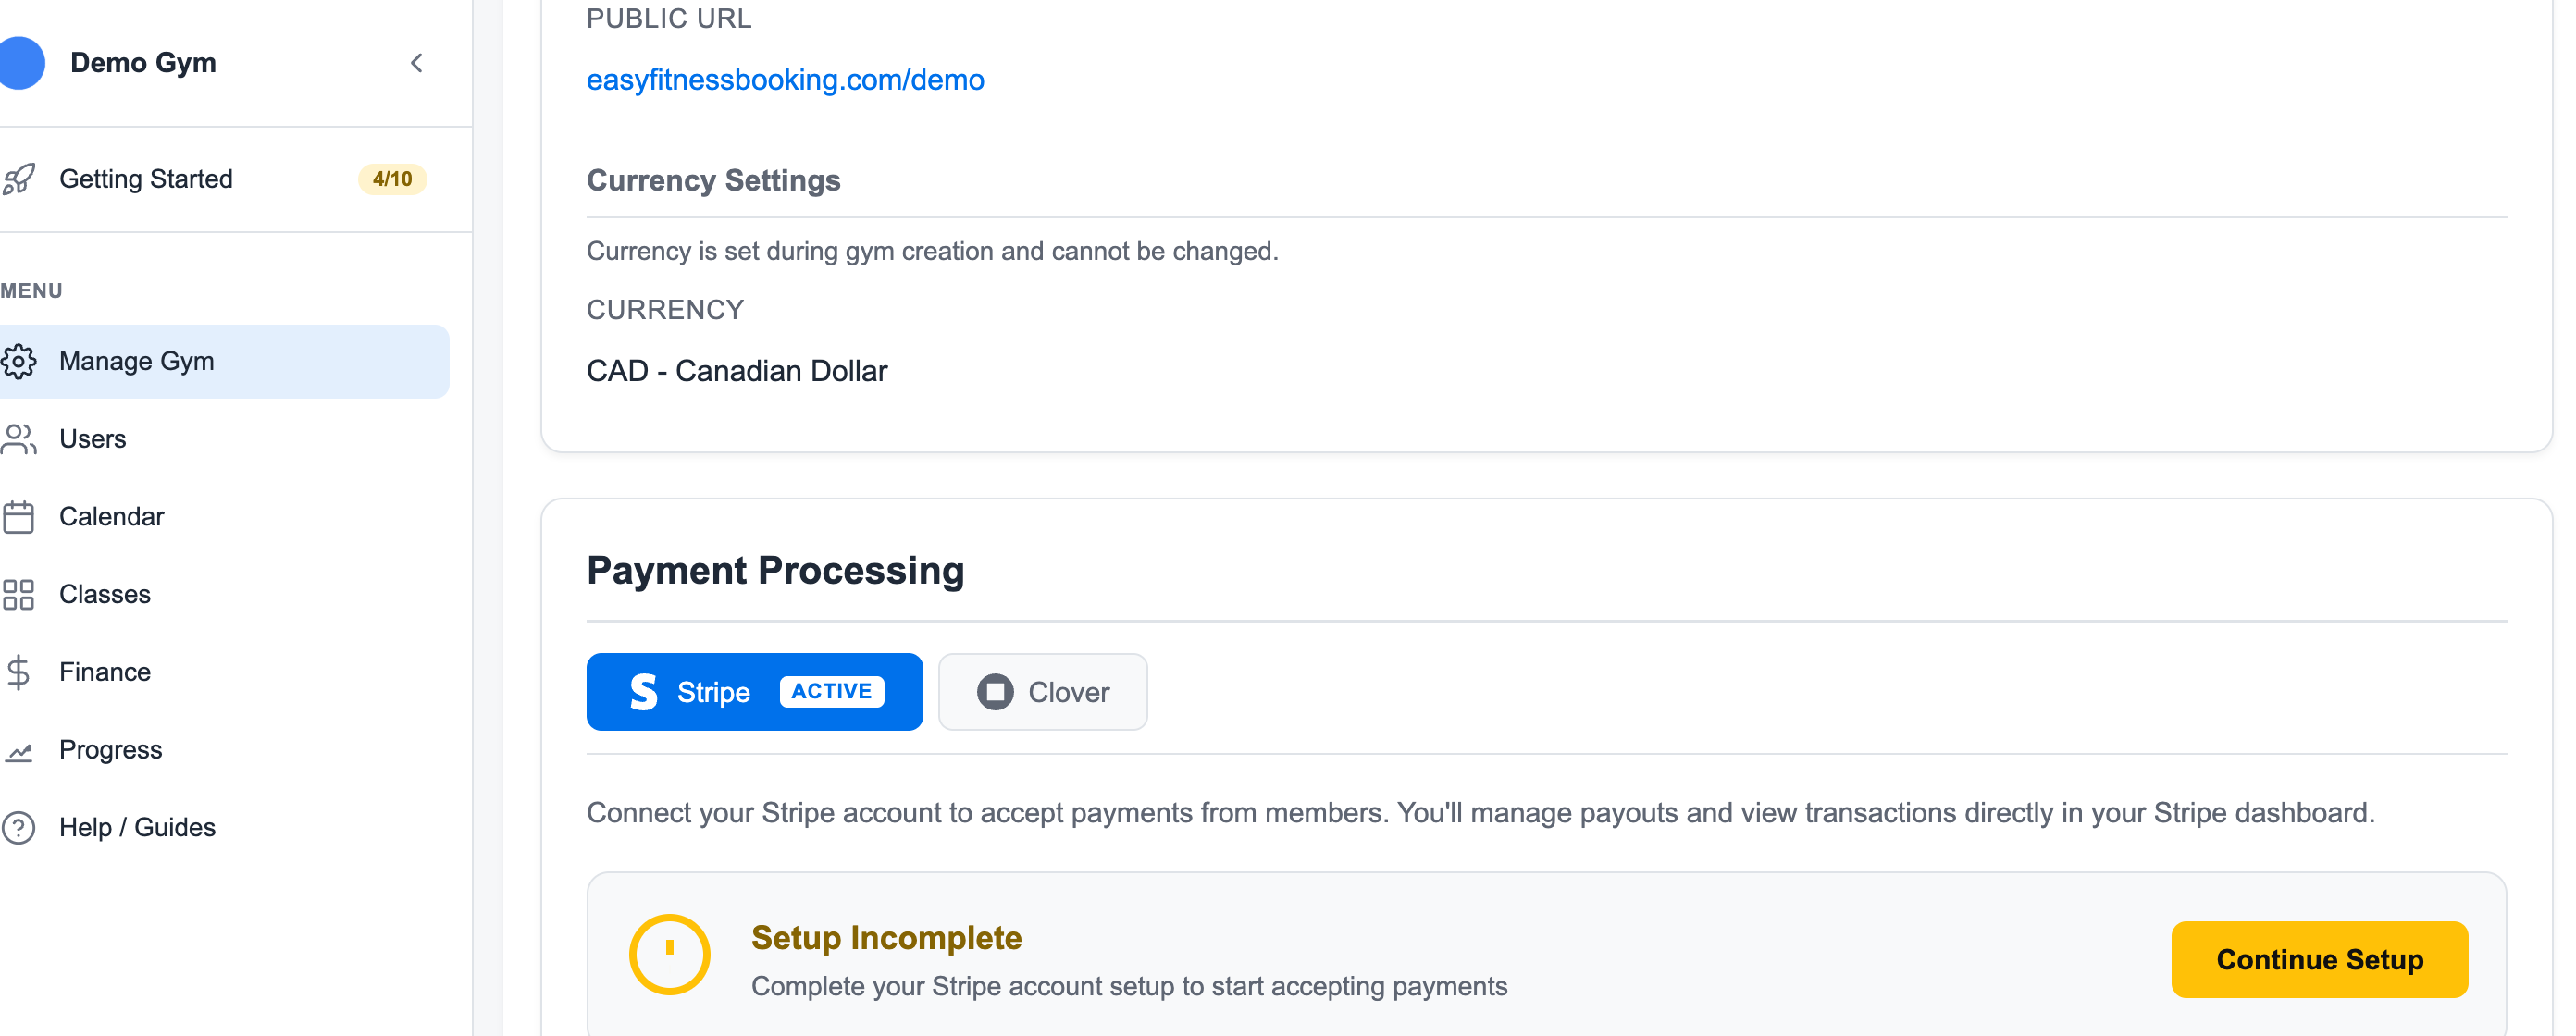
1. Open Gym Settings
Go to Manage Gym -> Settings.
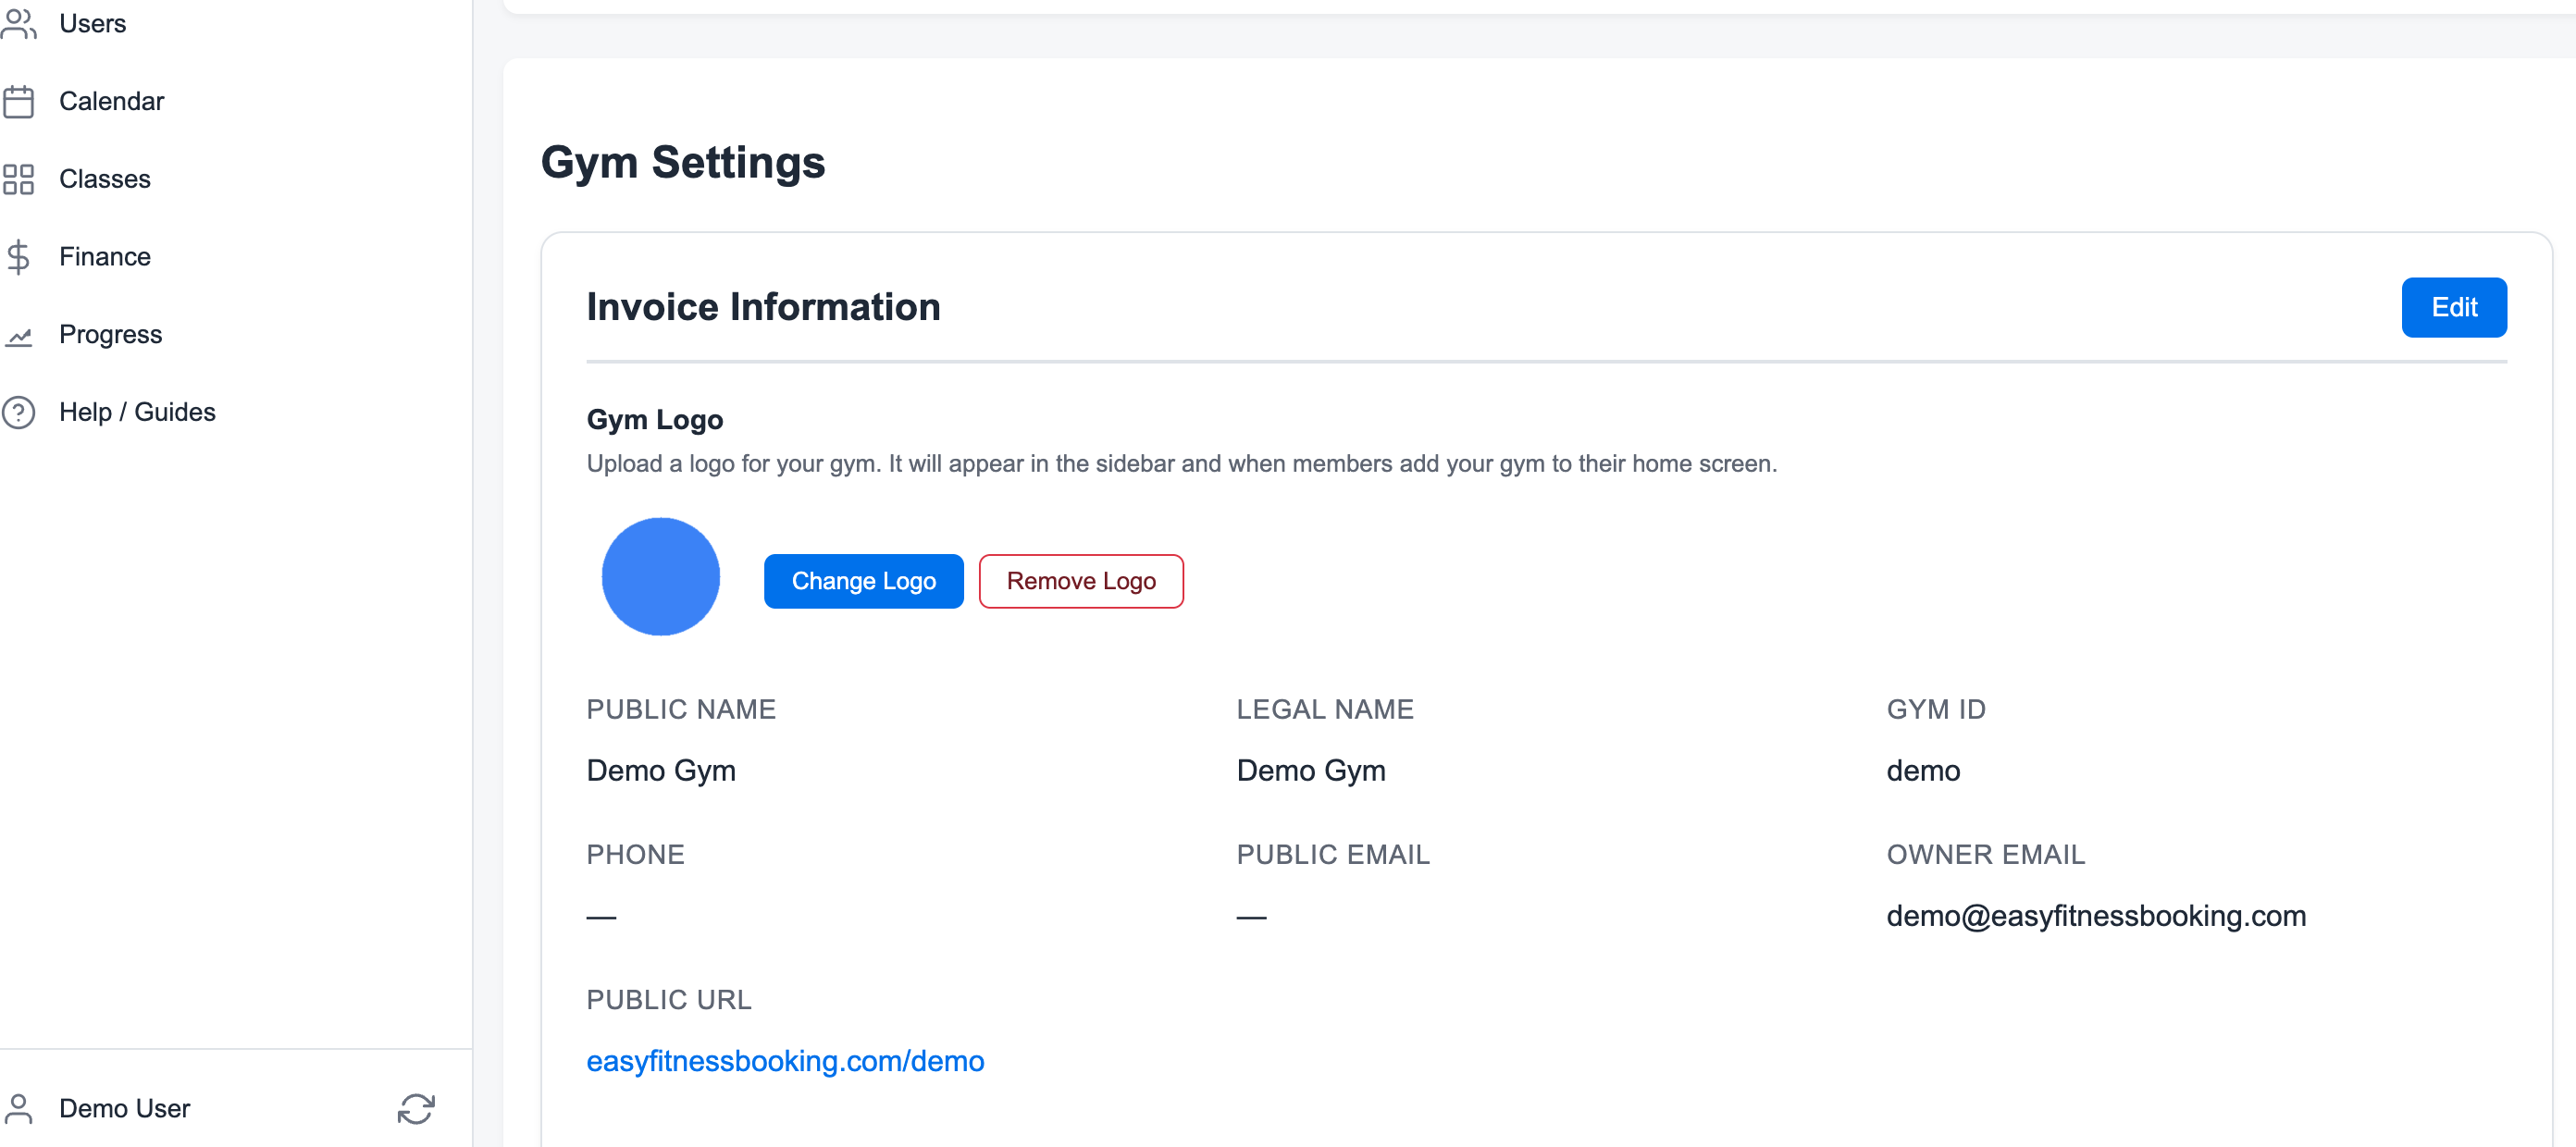
2. Complete Invoice Information
Click Edit in Invoice Information.
Add the information members and staff should recognize:
- Public gym name
- Legal invoice name
- Phone number
- Public email
- Address
- Tax number, if needed
Save the changes when the profile looks correct.
3. Upload or Change the Logo
Use Change Logo or Upload Logo in the Gym Logo section.
![]()
Use a square PNG or JPG when possible. The logo appears in the admin sidebar, member portal, and home-screen experience.
4. Check the Public URL
Your public link is shown in the same settings panel.
Share the public URL only after your membership types, documents, and payment setup are ready.
5. Test the Link
Open the public URL in a private browser window and confirm that the gym name, logo, and signup options look right.
Related guides:
Ready to streamline your gym?
Start managing bookings, personal training, and memberships in minutes.
Start Your Free Trial →No credit card required